Wednesday, July 28, 2010

A Peek into August!!!

I can not believe two things right now....

1-  It's nearing the end of JULY!
and 2-  The AWESOME Kit that Beth sent me to play with for August!!!  WOO HOO!


Want to see a Layout that I did with my August Kit?
Hope you all enjoy this kit as much as I did!!

Have a great day!
~Amy

Thursday, July 15, 2010

Nikki Sivils love!

I wanted to share some LO's with you, featuring Nikki Sivils pp that you can get in the store HERE. Nikki's pp is full of fun, bright images and colors and you can't help but have a blast when designing with them! For these projects, I used three lines: Will He B the 1, Willow Bee, and Flaming Butterfly.


Tuesday, July 13, 2010

July Kit Still Available!

Happy Tuesday!

I hope that everyone is enjoying their summer & keep cool in this crazy hot weather! I know we have been spending many many days at the pool just to keep cool.

I wanted to let you know that if you haven't already, you can still get in on the fabulous July kits. I was lucky enough to create with the Summer Fun kit. At first I just stared at it, wondering what I was going to do with it, but let me tell you, I used it right down to scraps, & I am still making cards w/ those scraps! Let me share with you some of the things I've done with this kit.


So, if you are interested in purchasing a July kit, what are you waiting for? Hurry on over to the store & pick one up today.
Thanks for looking! Enjoy the rest of your week!

Friday, July 9, 2010

Ruffles

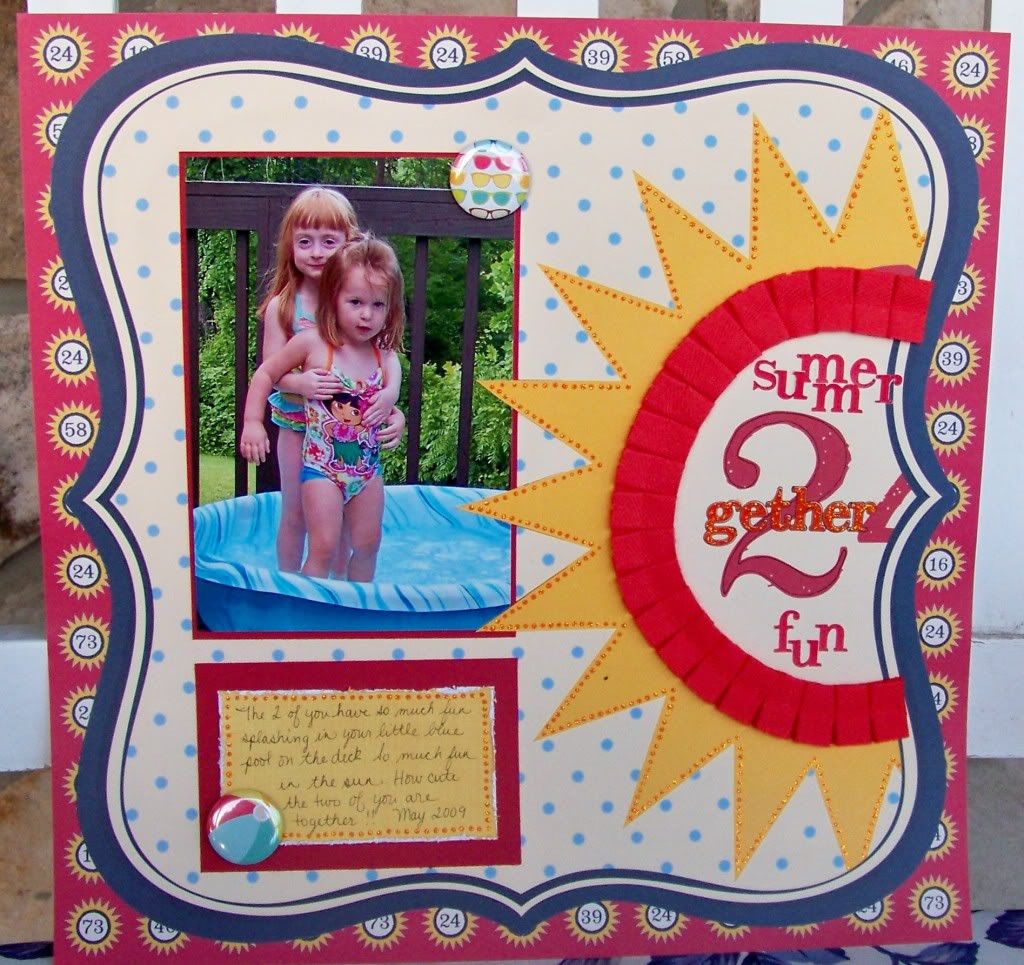
I love to add paper ruffles to my layouts and projects. With four growing girls in our home, most of my layouts have some form of "feminine" touch to them!


These ruffles are easy to make and add some dimension and fun to your layout.


Here are the different steps pictured together. We'll explain in detail....


First you cut your paper into 1 1/4" squares and score on both sides about 1/4" in. This does not have to be exact so just eyeball them and score each side. Fold both sides under.


If you would like a decorative edge use the design scissors on the edge after the sides are folded back. Here I used a pinky shears to give a jagged edge to the bottom. Then I ink the edges with a matching ink. Don't have to ink the top, it will not be seen.


Cut a strip of paper to be used as the top of the ruffles. Here I did ink the green pattern paper as well. Then you glue the ruffles to the back. Be sure you do not make them too far apart. You want to add a second layer to the back and not have any gaps.


Here is the view from the back as I was gluing the first layer.


Now you will add the second layer to back.


Here is the view from the back as I was gluing them. I also slide my second (back) up just slightly. This gives a more realistic look rather then them all being straight along the bottom edge.


I use a strong, fast drying glue to create the ruffles rather than tape. I've used Helmar, Fabri-Tac, and Beacon's craft adhesive in the past. They all work well. They are all similar to hot glue minus the hot and the bulking hot glue gun.


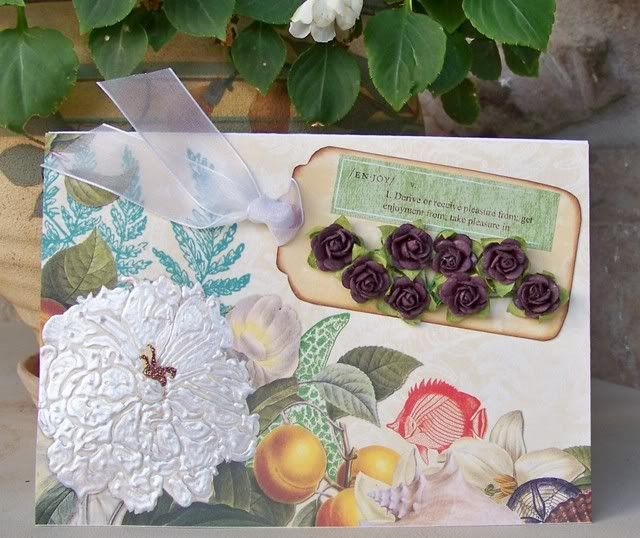
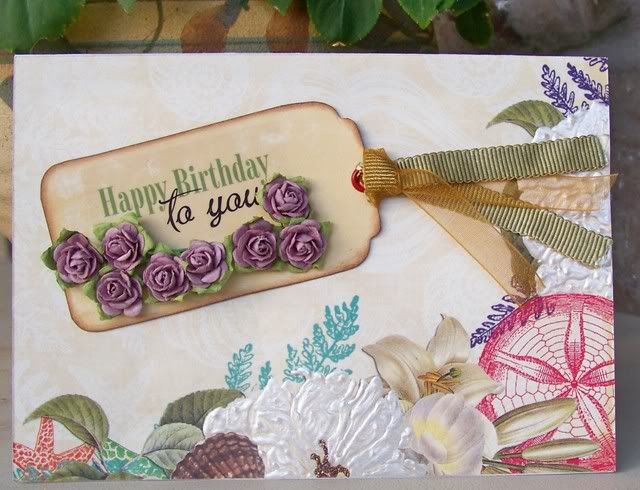
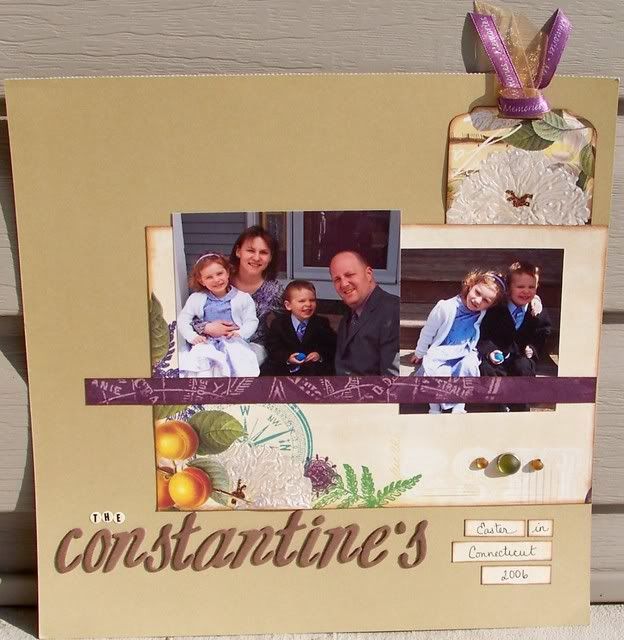
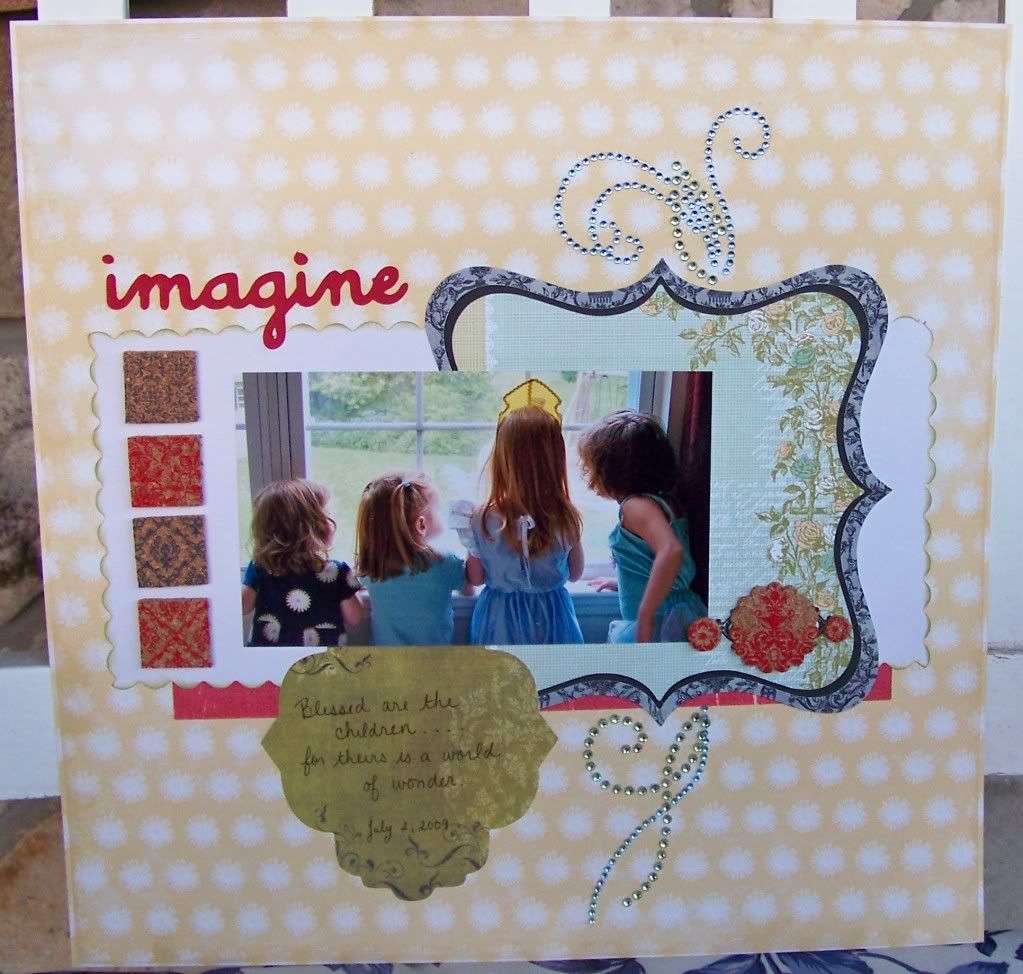
Here is another example of the ruffle design on a layout.


Monday, July 5, 2010

A New Challenge

hi everyone :) i hope all of you US gals had a wonderful 4th of July. i posted a new challenge over on the boards and i thought i would share it here for all of you....

the challenge this week is to use one die cut paper to create 2 pages or projects...
here are my examples, both made with the July Summer Fun kit~


i cannot wait to see what you create....

Sunday, July 4, 2010

Summertime!!!

Is anyone else as happy as I am that it's SUMMER TIME, the weather is hot, hot, hot, the days are longer, the pools are open......the list is neverending! I had a blast last weekend at the Hamburg Hideaway and I got soooooo much scrapping done. Below are the layouts I created with the July Scraptacular kit, which is FILLED with Pink Paislee and Webster's Pages goodies...


I love how the kit includes Pink Paislee and Jenni Bowlin papers that totally go together. I used Basic Grey's chipboard alphas for dimension in the title.


I love the Dew Drops and used them to outline the circle and they went so well with the water theme. The Pink Paislee journal tags are so great for title spots and just adding more layers to the layouts. Love the stitched ribbons.


The Webster's Pages paper has such beautiful pictures on it that it's a sin to cover them up. I tried to add my pictures and embellishments around the great scenery. I also love the bling swirls that look like waves.


The BoBunny Chunky chipboard letters totally match the outline of the Jenni Bowlin diecut paper, and the Webster's Pages letter stickers are perfect for long titles since there's so many of them!

Thursday, July 1, 2010

Webster's Pages + Summer = Perfection

Or at least that's what I truly believe - you're free to make up your own mind :) Beth has really gone all out with putting together two gorgeous kits with my all time fave paper line, Webster's Pages. I wasn't lucky enough to get to design with either kit this month around, but I did go ahead and buy the Webster's Pages Seaside Retreat pp and the ZVA Creative crystal swirls! I would like to share a project I made with them. This is a 12x12 canvas that I altered by cutting out the beautiful imagery from the pp. The crystals were clear until I used StazOn ink to make them a pretty matching blue. This is actually a banner of the week over at Webster's Pages right now, so check it out HERE! And while there, you can look around the photo gallery for even more inspiration on how to use your July kits.

Before I go, I wanted to encourage you to buy some extra ZVA crystal swirls to ship along with your kit. The crystal and pearl swirls look so beautiful with this pp and if you're a bargain hunter like me, then you would do so much better getting it along with the kit, since then you don't have to pay extra for the shipping on the ZVA stuff.